Blog
How to Install & Set Up Eduma Education WordPress Theme | Complete Step-by-Step Tutorial
Dec
How to Install & Set Up Eduma Education WordPress Theme | Complete Step-by-Step Tutorial
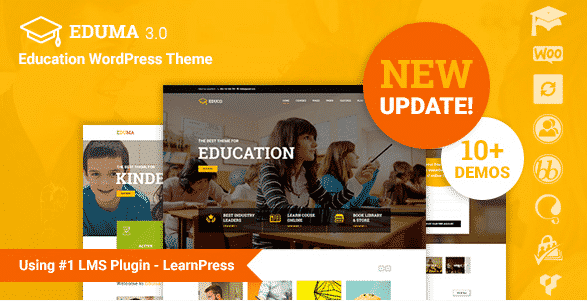
Eduma is one of the most popular and powerful Education WordPress Themes, designed specifically for schools, colleges, universities, online courses, learning management systems (LMS), and training centers. In this complete step-by-step tutorial, you will learn how to install, set up, and customize the Eduma Education WordPress Theme easily, even if you are a beginner.
This video is perfect for anyone who wants to create a professional education website using WordPress without coding knowledge. We will cover everything from theme installation to demo import, plugin setup, and basic customization.
Buy Now Wpwar GPL : https://wpwar.com/product/eduma-education-wordpress-theme/
Youtube Setup Video : https://youtu.be/Ea4D5wU3kkU
🔹 What You’ll Learn in This Video:
In this tutorial, you will learn:
- How to install the Eduma Education WordPress Theme
- How to activate the theme correctly
- How to install and activate required plugins
- How to import Eduma demo content
- How to set up courses using LearnPress
- How to customize Eduma theme settings
- How to build an education website step by step
🔹 Step 1: Login to WordPress Dashboard
First, log in to your WordPress admin dashboard by visiting:
yourwebsite.com/wp-admin
Enter your username and password to access the dashboard.
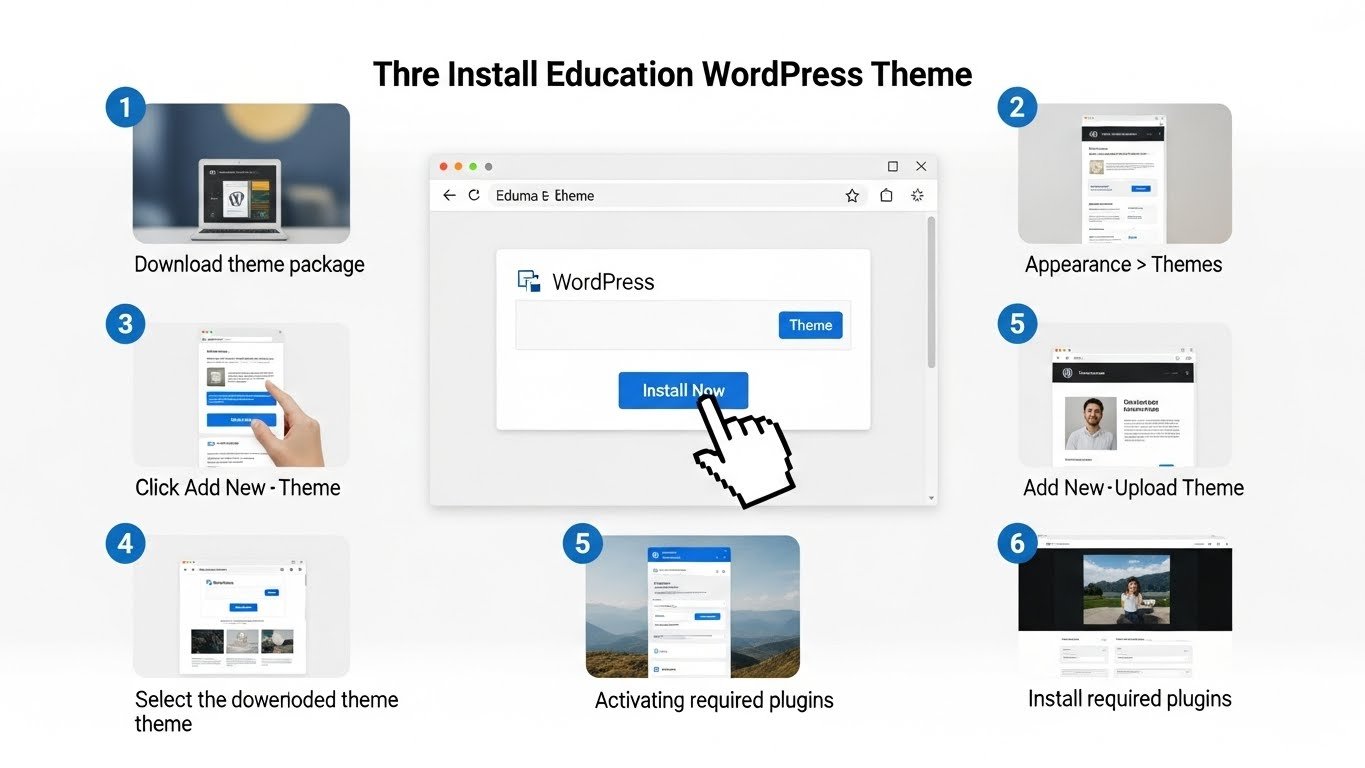
🔹 Step 2: Upload and Install Eduma Theme
From the WordPress dashboard:
Go to Appearance → Themes
Click Add New
Click Upload Theme
Choose the Eduma theme ZIP file
Click Install Now
After installation, click Activate
Your Eduma theme is now successfully installed.
🔹 Step 3: Install Required Plugins
After activating the theme, you will see a notification asking you to install required plugins.
Important plugins include:
- LearnPress
- Elementor
- Eduma Core
- WPBakery (if included)
- Revolution Slider (optional)
Click Begin Installing Plugins, install them, and activate all required plugins.
🔹 Step 4: Import Demo Content
To make your website look exactly like the Eduma demo:
Go to Eduma → Demo Import
Choose your preferred demo (Education, LMS, Online Courses, University, etc.)
Click Import
Wait until the import process finishes
⚠️ Do not refresh the page during demo import.
🔹 Step 5: Set Homepage & Menu
After demo import:
Go to Settings → Reading
Set Your homepage displays → A static page
Select the imported homepage
Save changes
Then go to Appearance → Menus and assign menus to the correct locations.
🔹 Step 6: Customize Eduma Theme
Now you can customize your website:
- Change logo and colors
- Edit typography and layout
- Customize header and footer
- Edit pages using Elementor or WPBakery
Navigate to Appearance → Customize to access all theme options.
🔹 Step 7: Create Courses with LearnPress
Eduma works perfectly with LearnPress LMS plugin.
You can:
- Create online courses
- Add lessons and quizzes
- Manage instructors and students
- Sell courses using WooCommerce
Go to LearnPress → Courses to start creating your online learning platform.
🔹 Why Choose Eduma Education WordPress Theme?
✔ Professional LMS design
✔ Fully responsive and mobile-friendly
✔ Works with LearnPress LMS
✔ Elementor & WPBakery support
✔ SEO optimized
✔ Fast loading
✔ Perfect for schools, universities, and online courses
🔹 Final Words
By following this tutorial, you can easily create a professional education website using the Eduma WordPress Theme. This theme is ideal for anyone looking to build an online learning platform, school website, or education business website.
If this video helped you, please Like, Share, and Subscribe to the channel for more WordPress tutorials, theme installations, and website setup guides.
Thanks for watching! 😊
Eduma WordPress theme, Eduma education theme, how to install Eduma theme, Eduma LMS theme, education WordPress theme, WordPress LMS theme, LearnPress Eduma tutorial, Eduma theme setup, WordPress education website, online course WordPress theme, WordPress LMS tutorial, GPL Eduma theme, WordPress theme installation, WordPress for beginners